How to Make a Vape: Essential DIY Guide
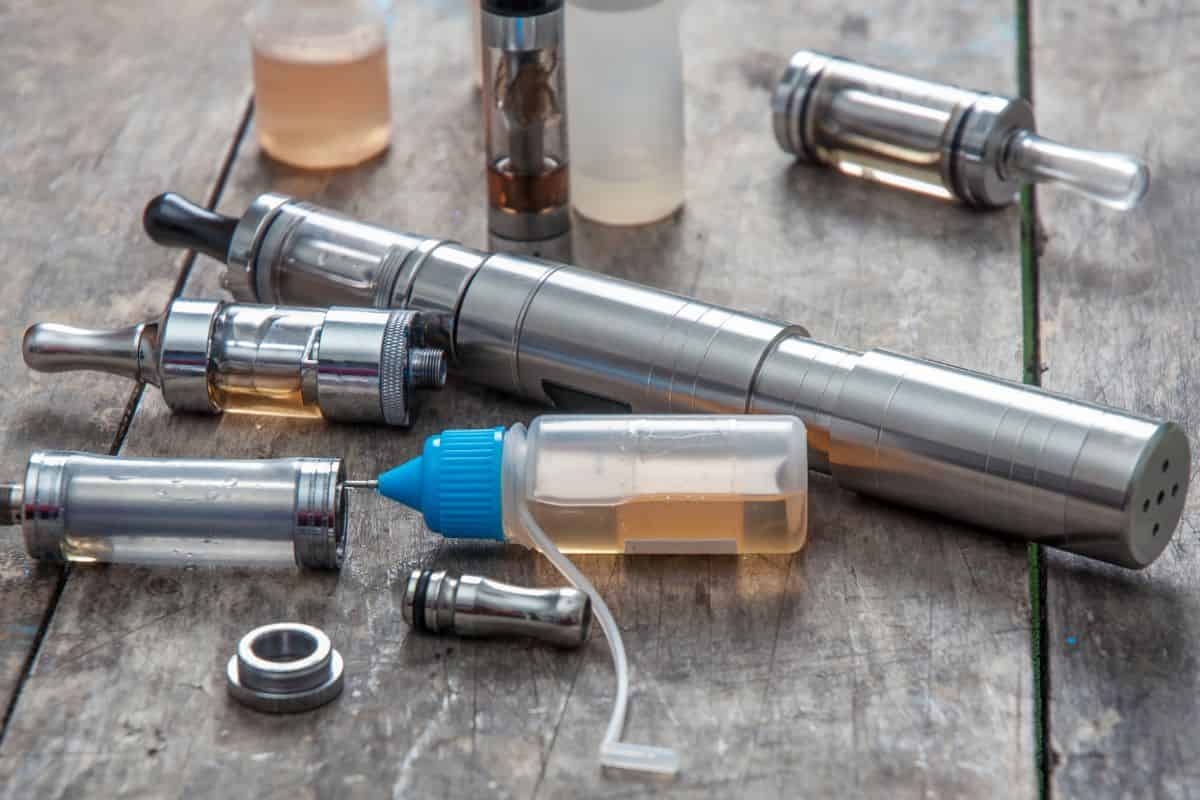
Vaping has become a popular alternative to traditional smoking, with many users attracted to the customization aspect of e-cigarettes. Understanding how to make your own vape device can offer a more personalized vaping experience. At its core, a vape, or vapor, device heats a liquid solution into an aerosol, which is then inhaled. Specifically designed to simulate the act of smoking without combustion, vaporizers consist of a battery, an atomizer, a tank or a pod to hold the e-liquid, and a mouthpiece.
To start creating a vaping device, you’ll need to focus on assembling these key components. The battery is the power source and can be modifiable or fixed. A crucial part of the vaporizer, the atomizer, is responsible for heating the e-liquid to produce vapor. Selecting the right type of atomizer affects the amount and warmth of the vapor produced. It’s important to understand the relationship between the device’s resistance and the battery’s voltage, as this will influence the quality of your vaping experience.
Finally, the choice of e-liquid plays a significant role. It is essential to use a high-quality e-liquid to ensure a safe and enjoyable vaping experience. When you have all the elements ready, assembling your vape requires attention to detail and adherence to safety guidelines. Doing so will not only allow you to tailor the device to your preferences but also help you comprehend the mechanics behind vaping devices.
NEW CUSTOMER DISCOUNT
Save 15%
15% OFF YOUR ENTIRE ORDER FOR NEW CUSTOMERS USE CODE WELCOME15!
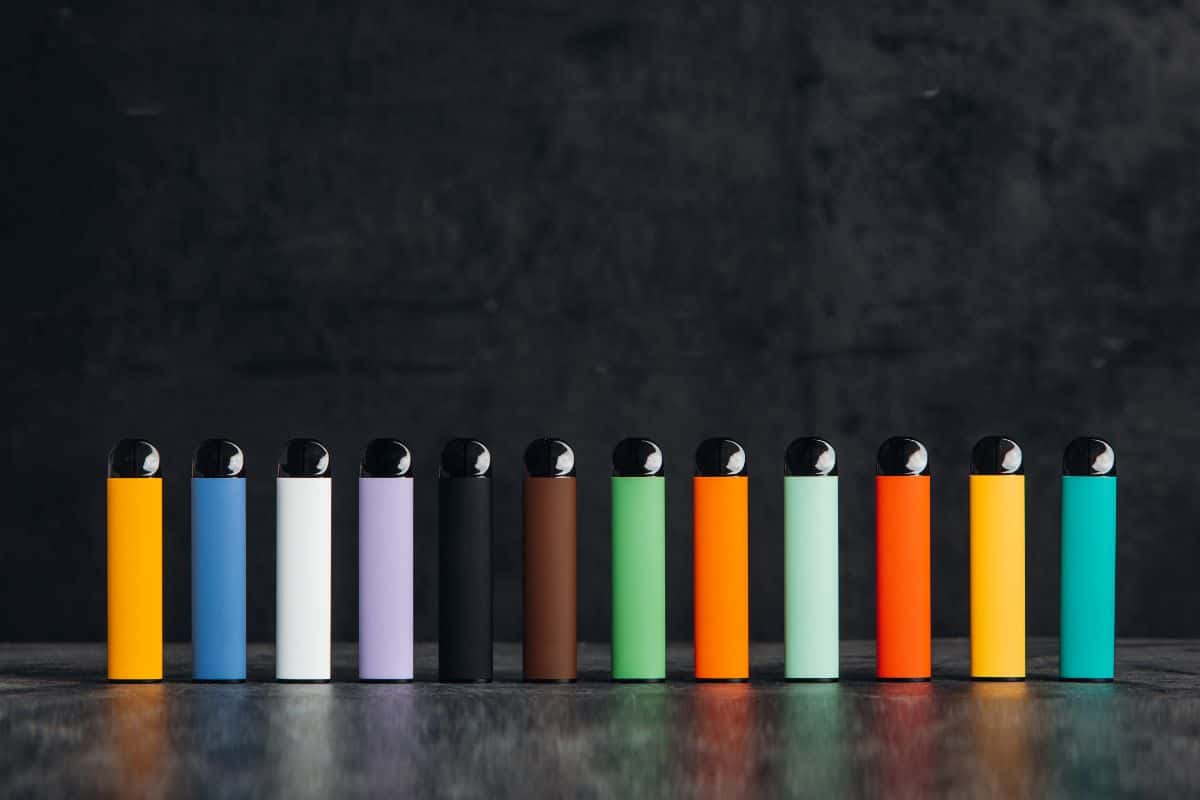
Table of Contents
Understanding Vaping Basics
Before you start building your own vape, it’s important to understand what a vape is, the various types of vaping devices available, and the essential components that make up a vape.
What is a Vape?
A vape or vaporizer is a device designed to heat e-juice or other materials to create vapor for inhalation. Unlike traditional smoking, vaping does not involve combustion, thereby producing vapor instead of smoke. Vapes come in different forms, each tailored towards a specific style or use.
Types of Vaping Devices
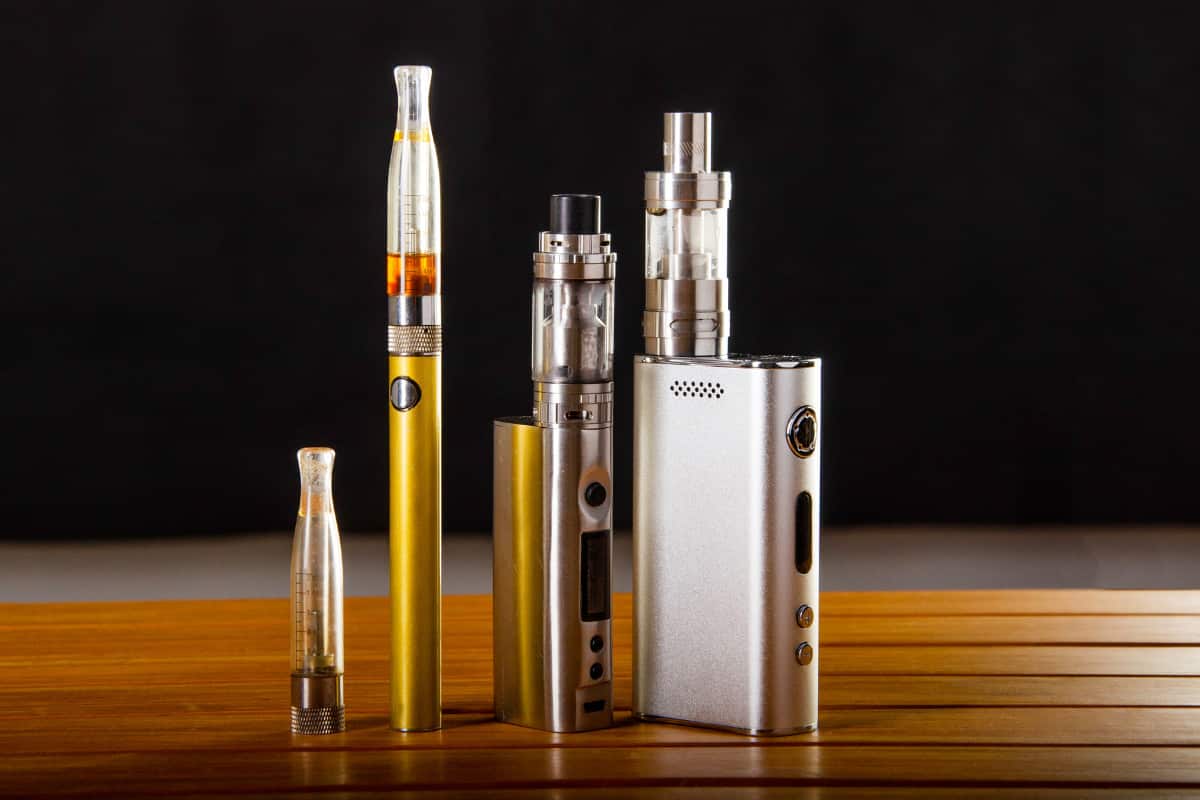
Vaping devices range from simple to complex, each serving a different type of user. Here are the common types:
| Vaping Device Type | Description |
|---|---|
| Cigalike | Resembles a traditional cigarette. Usually disposable or rechargeable with prefilled cartridges. Compact and easy to use for beginners. |
| Vape Pen | Slim, cylindrical design. Comes with a tank for e-liquid and a rechargeable battery. More customizable than cigalikes. |
| Pod System | Compact and lightweight. Uses replaceable pods or cartridges with e-liquid. Generally easy to use and popular among beginners. |
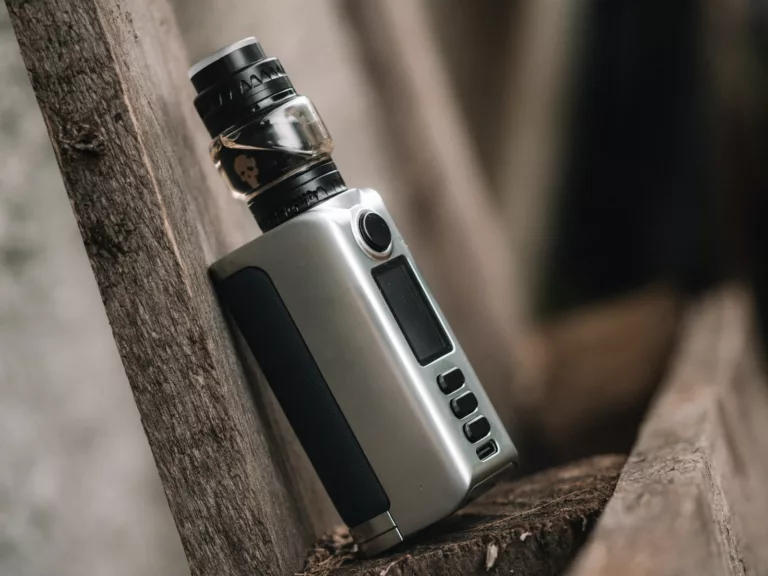
| Box Mod | Larger, box-shaped device with a powerful battery. Offers advanced features like variable wattage and temperature control. Often used by experienced vapers. |
| Tube Mod | Similar to vape pens but larger. Features a tube-like design with a tank for e-liquid and a rechargeable battery. Offers more power and customization options. |
| Squonk Mod | Box mod with a built-in e-liquid bottle. Allows users to squeeze e-liquid directly onto the atomizer. Reduces the need for dripping. |
| Mechanical Mod | Simple, unregulated device with no electronic components. Directly connects the battery to the atomizer. Typically used by advanced vapers with knowledge of battery safety. |
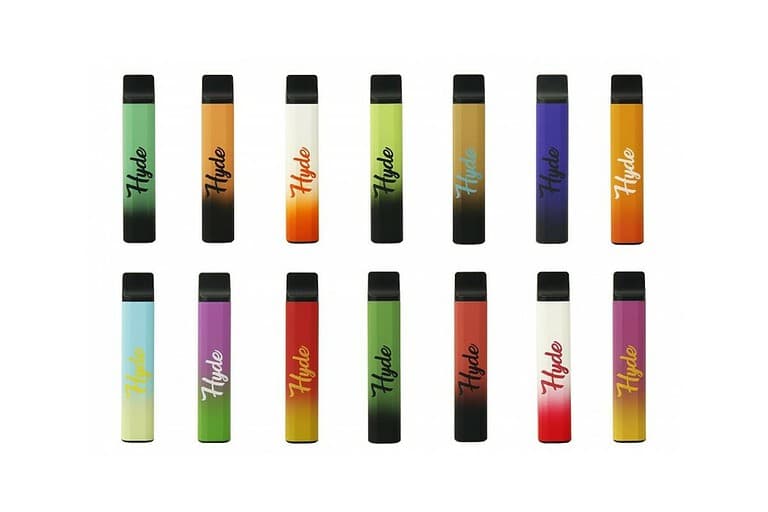
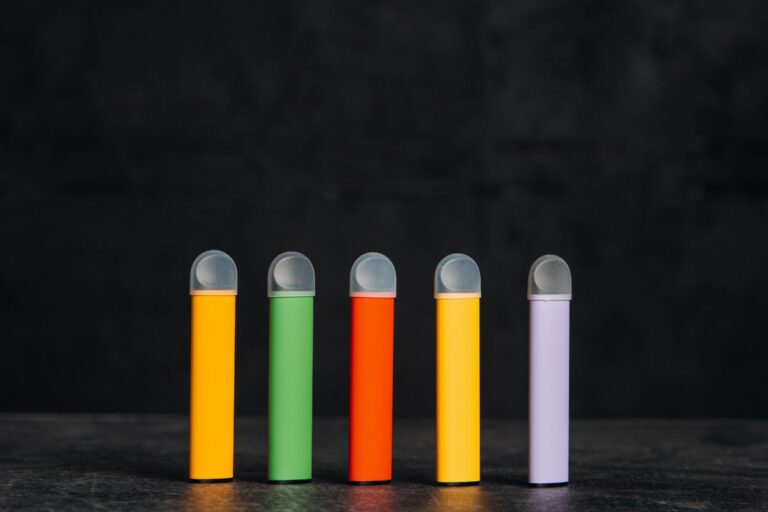
| Disposable Vape | Fully assembled, single-use devices pre-filled with e-liquid. Convenient for beginners and travelers. Discarded after use. |
| Heat-Not-Burn (HNB) | Heats tobacco rather than burning it. Produces an aerosol containing nicotine. Not technically vaping but often included in discussions on alternative nicotine delivery systems. |
| CBD Vape Pen | Designed specifically for vaping CBD e-liquid. Similar to vape pens but with CBD cartridges. Does not produce the psychoactive effects associated with THC. |
| Dry Herb Vaporizer | Specifically for vaporizing dry herbs rather than e-liquids. Offers a different experience for those who prefer using herbs over e-liquids. |
Components of a Vape
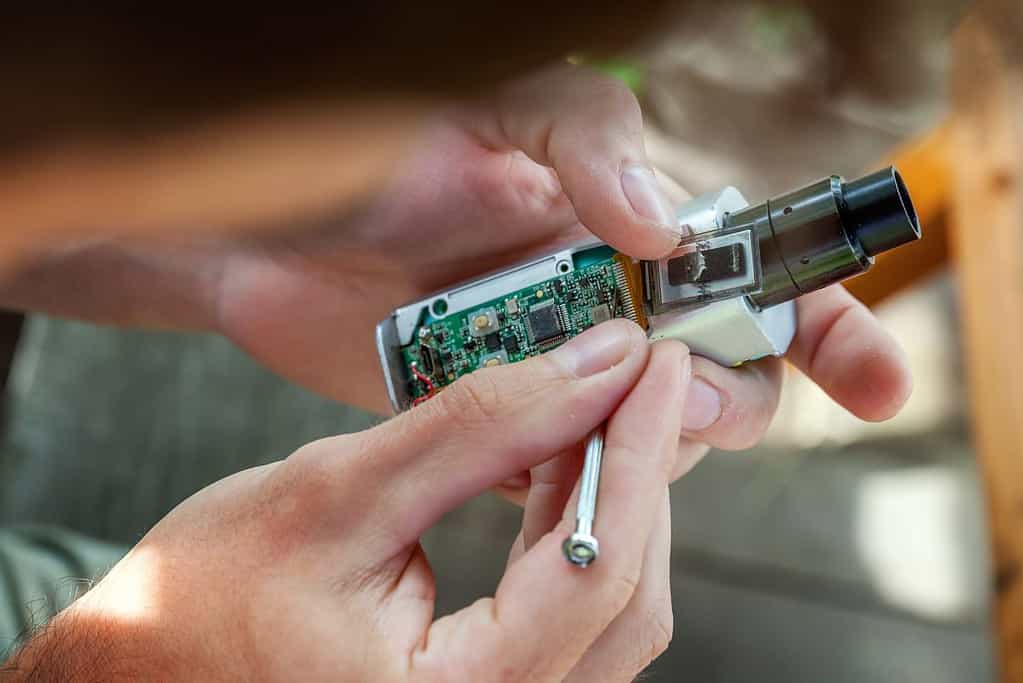
Every vape consists of several key components:
- Battery: The power source for your device; varies in capacity and size.
- Atomizer: The heating element that turns e-juice into vapor; can be built-in or replaceable.
- Tank/Cartridge: The container holding the e-juice or vaping material.
- Coils: Found within the atomizer, coils heat up to vaporize the e-juice.
- Mouthpiece: The part through which you inhale the vapor.
Understanding these basics will provide you with the foundation you need to explore the world of vaping and to start designing your own DIY vape.
Safety and Precautions
When considering making a vape, it is paramount that you prioritize safety and health. This involves understanding the health implications and managing any risks associated with the process and the use of the final product.
Health Considerations
Your health should be at the forefront of any decisions made during the creation of a vape. Nicotine is an addictive substance, often included in e-cigarette liquids, and should be handled with care. Be aware that the exposure to certain carcinogens typically found in traditional tobacco products may be reduced, yet not entirely eliminated when using electronic vaping devices. Ensure that you are informed about the health benefits and risks by consulting reliable medical resources.
- Health Benefits:
- Potentially fewer carcinogens compared to traditional smoking
- Risks:
- Exposure to nicotine and potential for addiction
- Possible inhalation of harmful chemicals if improperly made
Managing Risks
To minimize risks during the making and usage of a vape, follow precise guidelines and industry standards for safety. Strictly avoid using any homemade or non-certified components that could increase the likelihood of malfunction or health hazards.
- Safety Checklist:
- Use only certified and quality-tested components
- Follow proper electrical safety measures to prevent battery incidents
- Avoid modifying the device beyond the manufacturer’s recommendations
By adhering to these guidelines, you can ensure a safer experience during the creation and use of your vaping device.
DIY Vape Fundamentals
Crafting a DIY vape allows you to tailor your vaping experience to your preferences, potentially saving money and gaining a deeper understanding of the associated technology.
Benefits of Homemade Vapes
Homemade vapes offer several advantages, enticing vaping enthusiasts to make their own devices. Customization is a significant benefit, as it allows you to select components based on desired vapor production, flavor intensity, and throat hit. Additionally, creating a custom vape from household items may reduce long-term costs associated with purchasing pre-built systems. By understanding your device’s inner workings, you can enhance battery life and overall performance.
Required Materials for DIY Vape
To make your own vape, a basic understanding of necessary materials and tools is crucial. Here’s a list of essential components you’ll need for building a DIY vape:
- Battery: The power source for your device. Ensure compatibility with other components.
- Atomizer: This is where the liquid is heated and turned into vapor.
- E-liquid: Choose from commercial or homemade solutions tailored to your taste.
- Cartridge or Tank: Holds the e-liquid and connects to the atomizer.
- Mouthpiece: Where you’ll inhale the vapor from your device.
Apart from the main components, you’ll require various tools and household supplies, such as:
- Screwdrivers
- Wire cutters
- Ohm meter
- Cotton or other wicking material
- Coils
- Soldering iron (optional for advanced modifications)
Ensure you have a comprehensive understanding of electronics and safety precautions prior to assembly to ensure a successful and safe DIY vaping experience.
Building Your Vape
Building your own vape device involves a detailed assembly process, precise component integration, and careful handling of the power source to ensure a functional and safe experience.
Assembling the Vape Components
To start, select your main device body, which could be anything from a modified tube to a professionally-manufactured vape pen casing. Ensure it’s large enough to house the circuitry and can accommodate a tank for your e-liquid. Next, attach the wick; this is crucial for transporting the liquid to the heat source. The wick should be made of absorbent material like cotton and positioned correctly to avoid dry hits or leakage.
Creating a Heat Source
Your heat source is essentially the vape’s heating element, traditionally a coil that heats up to vaporize the liquid. For a homemade vape, some may repurpose a light bulb as a makeshift heat chamber, but handling it can be risky and is not recommended. Instead, use resistance wire to create a coil that will act as your heat source. Wind the coil around a small drill bit or similar object, ensuring it’s tight and even.
Attaching a Battery
Finally, the battery provides power to your setup. For a standard vape pen, a single, rechargeable lithium-ion battery is common. When integrating the battery, make sure the circuitry is complete and secure to prevent shorts. If the battery is not built into your device, you’ll need to connect it with battery terminals, ensuring the positive and negative ends match the device’s requirements. Always use batteries recommended for vaping to ensure safety and efficiency.
Making Vape Juice
Creating your own vape juice can be a rewarding experience, allowing for customization and potentially saving money. The process involves understanding the right ingredients and precise mixing techniques.
Understanding Vape Juice Ingredients
Vape juice, also known as e-liquid, is typically composed of a base liquid, which is a mix of propylene glycol (PG) and vegetable glycerin (VG). The PG/VG ratio can significantly affect the throat hit and vapor production of the e-liquid. Nicotine and flavorings are added to the base to create the desired taste and nicotine level. It’s important to note that some places may have flavor bans, so ensure you are complying with local regulations. In your DIY vape juice, you can use a variety of flavor concentrates. When selecting flavorings, opt for those that are specifically made for vaping, as food flavorings may contain oils that are unsuitable for inhalation.
| Ingredient | Purpose |
| PG (Propylene Glycol) | Carries flavor well and provides throat hit |
| VG (Vegetable Glycerin) | Produces more vapor and has a sweeter taste |
| Nicotine | Adds nicotine strength (omit if making nicotine-free juice) |
| Flavor Concentrates | Provides the specific taste profile |
| Optional: Distilled Water or Vodka | Thins out your e-liquid if it’s too thick |
Mixing Your Own Vape Juice
To begin mixing your own vape juice, gather storage bottles, a measuring device (such as a syringe or a scale), and materials for transferring your ingredients. Mixing by weight with a scale is recommended for its accuracy, as different ingredients have different specific gravities. Once you have your supplies, start by adding the base liquids into your bottle. Then, carefully measure and add your flavoring. Nicotine should be handled with care and added according to your preference, if at all.
It’s key to be precise with measurements, as variations can affect the flavor and overall experience of your vape juice. After thoroughly mixing, steep the e-liquid, which allows the flavors to meld and mature; this can take anywhere from a few days to several weeks. Remember to store your bottles in a cool, dark place to preserve the quality of the vape juice.
| Process Step | Description |
| Measuring | Use accurate methods, like a scale, for consistency |
| Blending | Mix your ingredients thoroughly for even flavor distribution |
| Steeping | Allow the e-liquid to age to achieve better flavor depth |
| Storing | Keep in a cool, dark place away from sunlight and heat |
Finishing Touches
In the final stages of making vape juice, you’ll concentrate on customizing the flavor and enhancing the taste through steeping. By handling these finishing touches with care, you ensure a more satisfying vaping experience tailored to your preferences.
Adding Flavor to Your Vape Juice
The essence of your vape liquid comes to life when you add flavorings. Start by selecting quality vape juice flavor concentrates; these can range from fruity to dessert options, depending on what suits your palate. You’ll typically want to add 5-10% flavor concentrate to your base, but this can vary depending on the potency of the flavors and your personal taste. Here is a simple guideline:
- Fruit flavors: usually lighter, might require less steeping.
- Creamy or dessert flavors: generally more robust, may benefit from a longer steeping period.
Remember to start with smaller amounts — you can always add more to increase the intensity.
Steeping for Enhanced Taste
Steeping is akin to allowing a fine wine to age — it can significantly improve the depth and complexity of your e-juice. To steep your vape juice:
- Store your mixture in a cool, dark place.
- Shake the bottle occasionally to distribute the flavors evenly.
- Allow it to sit for a few days to several weeks; darker, more viscous flavors like tobacco or custard often require longer steeping times to fully develop.
Patience during this process rewards you with a richer and more cohesive taste experience. Be sure to periodically test your e-juice to find the steeping duration that unlocks the best flavor profile for you.
Maintenance and Troubleshooting
Proper maintenance of your vape is crucial to ensure its longevity and optimal performance. Regular cleaning and timely troubleshooting can help prevent common issues such as poor vapor production and leakages.
Cleaning and Care
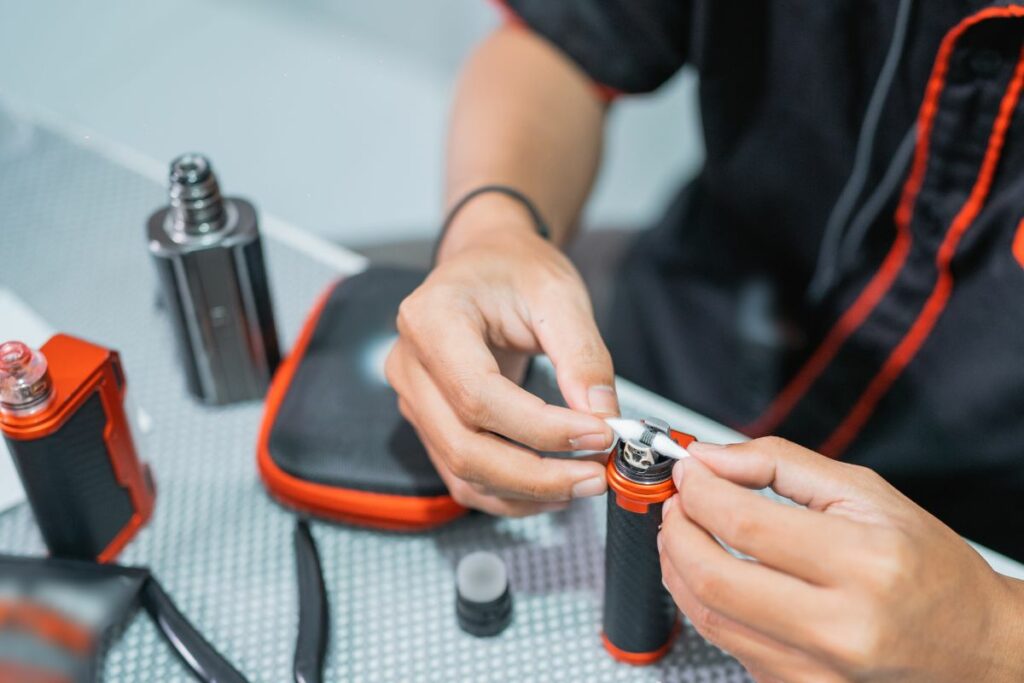
To maintain your vape, disassemble your device by removing the mouthpiece, tank, and atomizer. Use a dry cloth or a cleaning brush to wipe the battery terminal and ensure your batteries are free from any residue. The tank should be cleaned with warm water and allowed to air dry; for deep cleaning, a solution approved for vape gear can be used. Replace the coil and wick as necessary, usually every one to two weeks depending on usage.
- Atomizer: Clean carefully to prevent damage.
- Coil and Wick: Change periodically to maintain flavor quality.
- Mouthpiece: Rinse with water and wipe clean.
- Battery/Batteries: Check regularly for any signs of damage or wear.
Solving Common Vape Problems
When you encounter issues with your vape, there are several steps you can take to troubleshoot:
- No Vapor: Ensure your battery is charged and the tank is filled with e-liquid. Check if the coil is properly installed and the wick is adequately saturated.
- Leakage: Make sure all connections are tight but not overly tightened, as this can damage the threads or O-rings. Replace worn out O-rings or seals in the tank.
- Gurgling Sounds or Spit-back: This can often be resolved by checking for excess e-liquid in the coil area or ensuring the atomizer hasn’t flooded. Clear any excess liquid and check the coil head for proper installation.
- Battery Issues: Charge your batteries fully and ensure they are not overused; replace if they hold less charge than usual.
- Damaged Coils: Look for any signs of visible damage or a burnt taste which indicates it’s time to replace the coil.
- Poor Flavor or Vapor: Clean your atomizer and if issues persist, consider replacing the coil or wick to restore quality.
Vape Customization
Vape customization allows you to tailor your device to your personal preferences, whether you’re seeking enhanced performance or a unique look. Let’s explore how you can tweak your vape for better functionality and design it to reflect your style.
Modifications for Improved Performance
Battery Life Extension: To maximize your vaping sessions, consider upgrading to a higher-capacity battery. Select a battery with a higher ‘mAh’ rating, which indicates the battery’s energy storage capacity. Moreover, using batteries with a higher ‘C’ rating will allow for a higher current draw, which is essential for sub-ohm vaping.
- High-Quality Coils: Invest in premium coils or learn to build your own to improve the heat distribution and vapor production. Custom coils can be made from various materials such as Kanthal, nickel, or titanium, which directly affect your vape’s temperature control and flavor enhancement.
Designing Your Own Aesthetics
Personalized Skins and Wraps: You can apply skins or wraps to your vape device for a distinctive look. Skins come in a variety of textures and designs, from sleek carbon fiber to vibrant patterns and eye-catching colors.
- Custom Stands and Cases: Craft or purchase a unique stand to hold your vape when not in use. A stand not only showcases your device but also keeps it secure. Custom cases offer protection with personalized flair — leather, silicone, or hard cases with custom prints can make your device truly yours.
Remember, while customizing, always consider compatibility between different vape parts to ensure a safe and enjoyable vaping experience.
Alternative Vaping Solutions
Creating alternative vaping devices using everyday items can be a resourceful way of enjoying vapor without standard equipment. However, it’s important to proceed with caution, ensuring safety and understanding the risks involved.
Using Household Items
For a homemade vape, you’ll need a lightbulb to serve as the chamber for vaporizing, but ensure it is thoroughly cleaned and free of any chemical residue. You could use a glass jar or a plastic water bottle with a plastic bottle cap to construct the body of your device. The body must be airtight to function properly.
Materials:
- Clean lightbulb
- Glass jar or plastic water bottle
- Bottle cap or tin lid
Tools:
- Knife or scissors
- Marker or any writing tool
Instructions:
- Remove the metal tip of the lightbulb using pliers.
- Clean the inside of the lightbulb thoroughly.
- Use a marker to mark a hole on the bottle cap.
- Carefully heat the marked point and insert the lightbulb neck. Ensure it’s airtight.
Remember, improper use of household items for vaping can be dangerous. Always prioritize safety and consider the potential risks.
Crafting a Vape without a Kit
Without a ready-made kit, creating a functional vape requires some ingenuity. You can create a minimalist vaping device using a shot glass as a container to hold your vaping material, and glass vials or syringes can be repurposed to transfer heat or to serve as a makeshift mouthpiece.
Materials:
- Shot glass or small container
- Glass vial or syringe
Instructions:
- Fill the shot glass with a small amount of vaping material.
- Heat the bottom of the glass carefully until you see vapor forming.
- Use the glass vial or the body of a syringe as a mouthpiece to inhale the vapor.
Safety note: Engaging in DIY projects involving heat and glass carries a risk of injury. Ensure all materials are heat resistant and handle them with care to prevent accidents.
Browse popular vape collections:
- Nicotine Disposables
- 2000 Puff Nicotine Disposable Vapes
- 2500 Puff Nicotine Disposable Vapes
- 5000 Puff Nicotine Disposable Vapes
- 6000 Puff Disposable Nicotine Vapes
- 7000 Puff Nicotine Disposable Vapes
- Disposable Vape Deals
- Best Vape Brands
- 8000 Puff Nicotine Disposable Vapes
- 9000 Puff Nicotine Disposable Vapes
- 5% Nicotine Disposable Vapes
- Rechargeable Nicotine Disposable Vapes
- Vape Coils
- Dab Wax Pens
- Dab Wax Pen Battery
- Yocan Vapes
- Vape Cases
Frequently Asked Questions
In this FAQ section, we detail the essentials for those interested in crafting their own vaping devices and vape juice, as well as key safety measures to keep in mind.
What essential components are required to build a vaping device at home?
To build a vape device at home, you’ll need a power source typically a battery, a heating element often referred to as a coil, a wicking material, and a reservoir or tank to hold the e-liquid.
What are the steps to create your own vape juice?
Creating your own vape juice requires propylene glycol (PG) or vegetable glycerin (VG) as a base, flavorings suitable for inhalation, and optionally, nicotine. You’ll mix these together in your desired ratios.
How can you craft a vape using simple household materials?
Crafting a vape using household materials involves finding alternatives for the components such as using a light bulb as a tank and a steel mesh wick; however, this is not recommended due to safety and health risks.
Which safety precautions should be considered when making a DIY vape?
You should have knowledge of battery safety, the properties of high-drain batteries, ohm’s law, and the materials that are safe to vaporize. Always ensure proper ventilation and wear protective gear.
What is the process for assembling a homemade vape pod?
Assembling a homemade vape pod involves securing the heating coil within the pod, attaching the wick, and ensuring a sealed connection to the battery. Precision and attention to detail are crucial.
How can one utilize water in the construction of a homemade vape?
Water can be used in a vaping device as part of the e-liquid mixture, typically as a thinning agent; however, it’s seldom used because it can affect the vaping experience and device performance.

