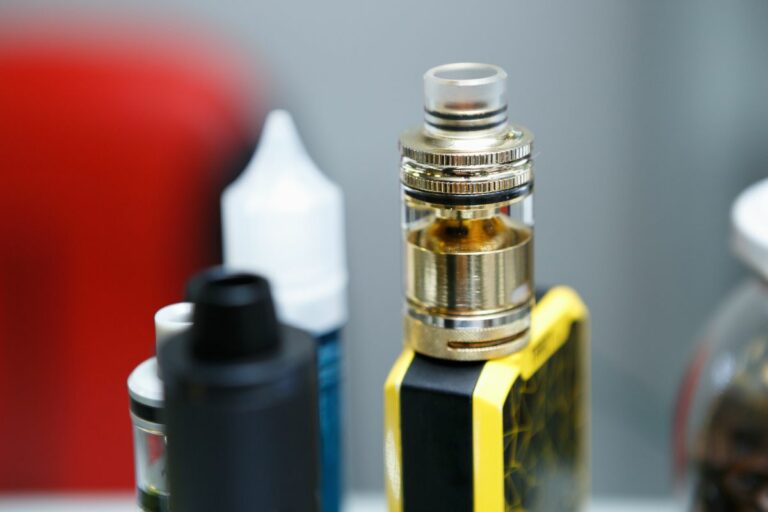
The Ultimate Guide to Making a Homemade Cannabis Vaporizer
Are you looking for a way to consume cannabis without the need for expensive equipment or inhaling smoke? Then a homemade vaporizer is the perfect solution.
Vaporizers are becoming increasingly popular among cannabis users, as they’re an effective and efficient way to consume your favorite strains. Plus, they’re much healthier than smoking, as they don’t involve any combustion of plant material.
In this guide, we’ll be taking you through the steps on how to make your own vaporizer at home, from start to finish. So if you’ve been curious about making your own vaporizer, read on for all you need to know!
Table of Contents
What Is Vaping?
Vaping is the process of heating cannabis to a temperature just below the point of combustion, resulting in the release of cannabinoids and terpenes in vapor form.
This vapor can then be inhaled to experience the plant’s effects. Vaping is a popular method of consuming cannabis, as it is less harsh on the lungs than smoking and can offer a more potent dose of THC.
There are many ways to vape cannabis, including using a dry herb vaporizer, vape pen, e-cigarette, or even a homemade device.
While there are many commercial vaporizers on the market, some people prefer to make their own. Homemade vaporizers can be made from simple materials like mason jars and light bulbs.
NEW CUSTOMER DISCOUNT
Save 15%
15% OFF YOUR ENTIRE ORDER FOR NEW CUSTOMERS USE CODE WELCOME15!
To make a homemade vaporizer, you will need:
- A mason jar with a lid
- A small light bulb
- A piece of metal or glass that fits snugly over the light bulb (this will act as your bowl)
- A drill
- A small hole punch or nail
Instructions:
- Drill a small hole in the side of the mason jar lid. This will be used to draw air into the jar.
- Remove the filament from the light bulb and screw it into the hole in the lid. Make sure it is tight so that no air can escape.
- Use the hole punch or nail to make a small hole in the bottom of your bowl
How to Make a Homemade Vaporizer Using a Lightbulb
If you’re looking to make a homemade cannabis vaporizer, there are a few different ways you can go about it. One popular method is using a lightbulb. Here’s how to do it:
First, remove the metal base from the lightbulb. Next, cut a small hole in the bottom of the bulb. Be careful not to make the hole too big, as this will allow too much heat to escape and could potentially cause the bulb to shatter.
Once you’ve made the hole, insert a small piece of aluminum foil into it. This will act as your heating element. Then, take a small piece of cannabis and place it on top of the foil.
Finally, screw the metal base back onto the lightbulb. When you’re ready to use it, simply turn on the lightbulb and inhale through the hole at the bottom of the bulb. The heat from the lightbulb will cause the cannabis to vaporize, allowing you to enjoy its benefits without having to smoke it.
Step 1 – Begin by Hollowing Out the Lightbulb
To begin, you’ll need a lightbulb and a drill. Start by drilling a hole in the side of the lightbulb. Be sure to make the hole big enough to fit your index finger through.
Next, use your finger to hollow out the inside of the lightbulb. You’ll want to create a bowl-shaped area for your cannabis. Be sure to leave some space at the top of the bulb so that you can screw the cap on later.
Now that you’ve created a space for your cannabis, it’s time to move on to Step 2!
Step 2 – Make Two Holes in the Bottle Cap (Make Sure to Choose a Bottle Cap That Fits Snugly to the Base of the Light Bulb)
Assuming you have a bottle cap and a light bulb, the next step is to make two holes in the bottle cap. It’s important to choose a bottle cap that fits snugly to the base of the light bulb so that no air can escape.
Once you have your holes, unscrew the light bulb from the socket and screw it onto the bottle cap. Make sure the fit is snug so no air can escape.
Step 3 – Insert Straws or Pen Tubes into Bottle Cap
If you’re using a bottle cap as your vaporizer, you’ll need to insert straws or pen tubes into the holes in the cap. This will create a chamber for the cannabis vapor to travel through.
You can use whatever type of straw or tube you like, but we recommend using something that’s about 6 inches long. This will ensure that there’s plenty of room for the vapor to circulate and reach your lungs.
Once you have your straws or tubes inserted into the bottle cap, it’s time to move on to step 4!
Step 4 – Grind up Some Weed and Place It in the Lightbulb
If you’re using a lightbulb vaporizer, you’ll need to grind up your weed first. Use a grinder or your hands to break up the buds into smaller pieces.
Once your weed is ground up, place it in the lightbulb. If you’re using a pen vaporizer, you can skip this step and just put the weed directly into the pen.
Browse popular vape collections:
- Nicotine Disposables
- 2000 Puff Nicotine Disposable Vapes
- 2500 Puff Nicotine Disposable Vapes
- 5000 Puff Nicotine Disposable Vapes
- 6000 Puff Disposable Nicotine Vapes
- 7000 Puff Nicotine Disposable Vapes
- Disposable Vape Deals
- Best Vape Brands
- 8000 Puff Nicotine Disposable Vapes
- 9000 Puff Nicotine Disposable Vapes
- 5% Nicotine Disposable Vapes
- Rechargeable Nicotine Disposable Vapes
- Vape Coils
- Dab Wax Pens
- Dab Wax Pen Battery
- Yocan Vapes
- Vape Cases
Final Thoughts on Making a Homemade Marijuana Vaporizer Using a Lightbulb
As you can see, making a homemade vaporizer using a lightbulb is not as difficult as it may seem. With a little bit of patience and the right materials, you can create a working vaporizer that will allow you to enjoy your cannabis without having to smoke it.
There are a few things to keep in mind when using your homemade vaporizer, however. First, be sure to start with a small amount of cannabis.
Too much can overwhelm the system and make it difficult to get a good hit. Second, go slowly at first. The heat from the lightbulb can be intense, so take it easy until you get used to it.
Finally, don’t be afraid to experiment. Try different temperature modes and see what works best for you.
You may find that you prefer a lower temperature for lighter hits or a higher temperature for more potent ones. Whatever you do, just have fun and enjoy your new vape!
References:


